Printing With The Sun is an artistic experiment using light-sensitized paper. With this kit, create a unique print using light, learn how light affects art, and discover how Art Preserve staff are monitoring light in the collections areas.
This kit was handed out as part of the Maker Faire Sheboygan, event hosted in Sheboygan, WI in June 2021.
Use the material list to gather what you’ll need and follow the directions below to learn how to create a print.
Learn how light is being monitored at the Art Preserve by reading a note from Jo, the Collections Associate at the John Michael Kohler Arts Center and Art Preserve.
Let’s Print with the Sun!
What you will need…
- 1 sheet of Nature Print Paper
- 1 5×7-inch piece of scrap paper
- 1 piece of cardboard a little larger than the paper
- Flat items you would like to print with (see Step 1 for ideas of what objects work well)
- A watch or timer
- A container that is big enough to lay the 5×7-inch Nature Print Paper flat inside filled with cold, plain water about 2-inches deep
IMPORTANT: Indoor daylight or incandescent light will not damage the Nature Print Paper during the short time you are getting ready to use it, but for best results:
- Store your paper in a cool, dark place until you are ready to use it
- Do not expose the paper to sunlight until it is ready to print.
- Use within 6 months of getting your paper.
Step 1: GATHER
Choose a place to create your print where you can easily move from shade, to full sun, and back into the shade. You will want the shady area to prepare your materials before printing and cool your paper after setting it in the full sun to print. Then, collect the materials from the checklist on the outside of the blue envelope and bring them to the place where you will print.
TIP: We recommend printing on a sunny day in a spot that is not windy because wind can blow the objects off your paper before the sun is finished doing its job.
When selecting objects to print with, consider looking for things that will leave a unique print and whose bottoms will lay flat on the paper. Things such as leaves, sticks, keys, string, lace, a sliced shell, buttons, a black and white negative, cut paper, etc.
Step 3: ARRANGE + EXPOSE
In the shade and out of the sun, use the 5×7-inch piece of scrap paper to make a plan for how you would like your objects arranged. (Do not take out the sun paper until you are ready!). Once you are happy with how your objects are arranged on the scrap paper, remove your Nature Print Paper from the black zip bag and place it on the cardboard with the BLUE side facing up.
Then quickly move your objects over from the scrap paper to the Nature Print Paper and carefully bring your paper over to a spot with full sun.
Set your timer for 2 minutes.
Watch as the blue turns a pale blueish-yellowish color. This takes about 2-minutes; however, times will vary depending on what time of day you are printing and how strong the sun is. Keep a close eye on it!
Step 3: REMOVE + SOAK
Your container or tray of cold water should be away from direct sunlight in a shady spot. After your timer goes off, bring your paper out of the sun and back into the shade. Remove your objects and fully submerge your paper under the water.
Let it soak for 1-minute. Take notice of the color change that happens as the paper soaks in the water.
Staying out of direct sunlight still, pull your print from the water and lay flat on the cardboard to dry. The image will sharpen during the drying time.
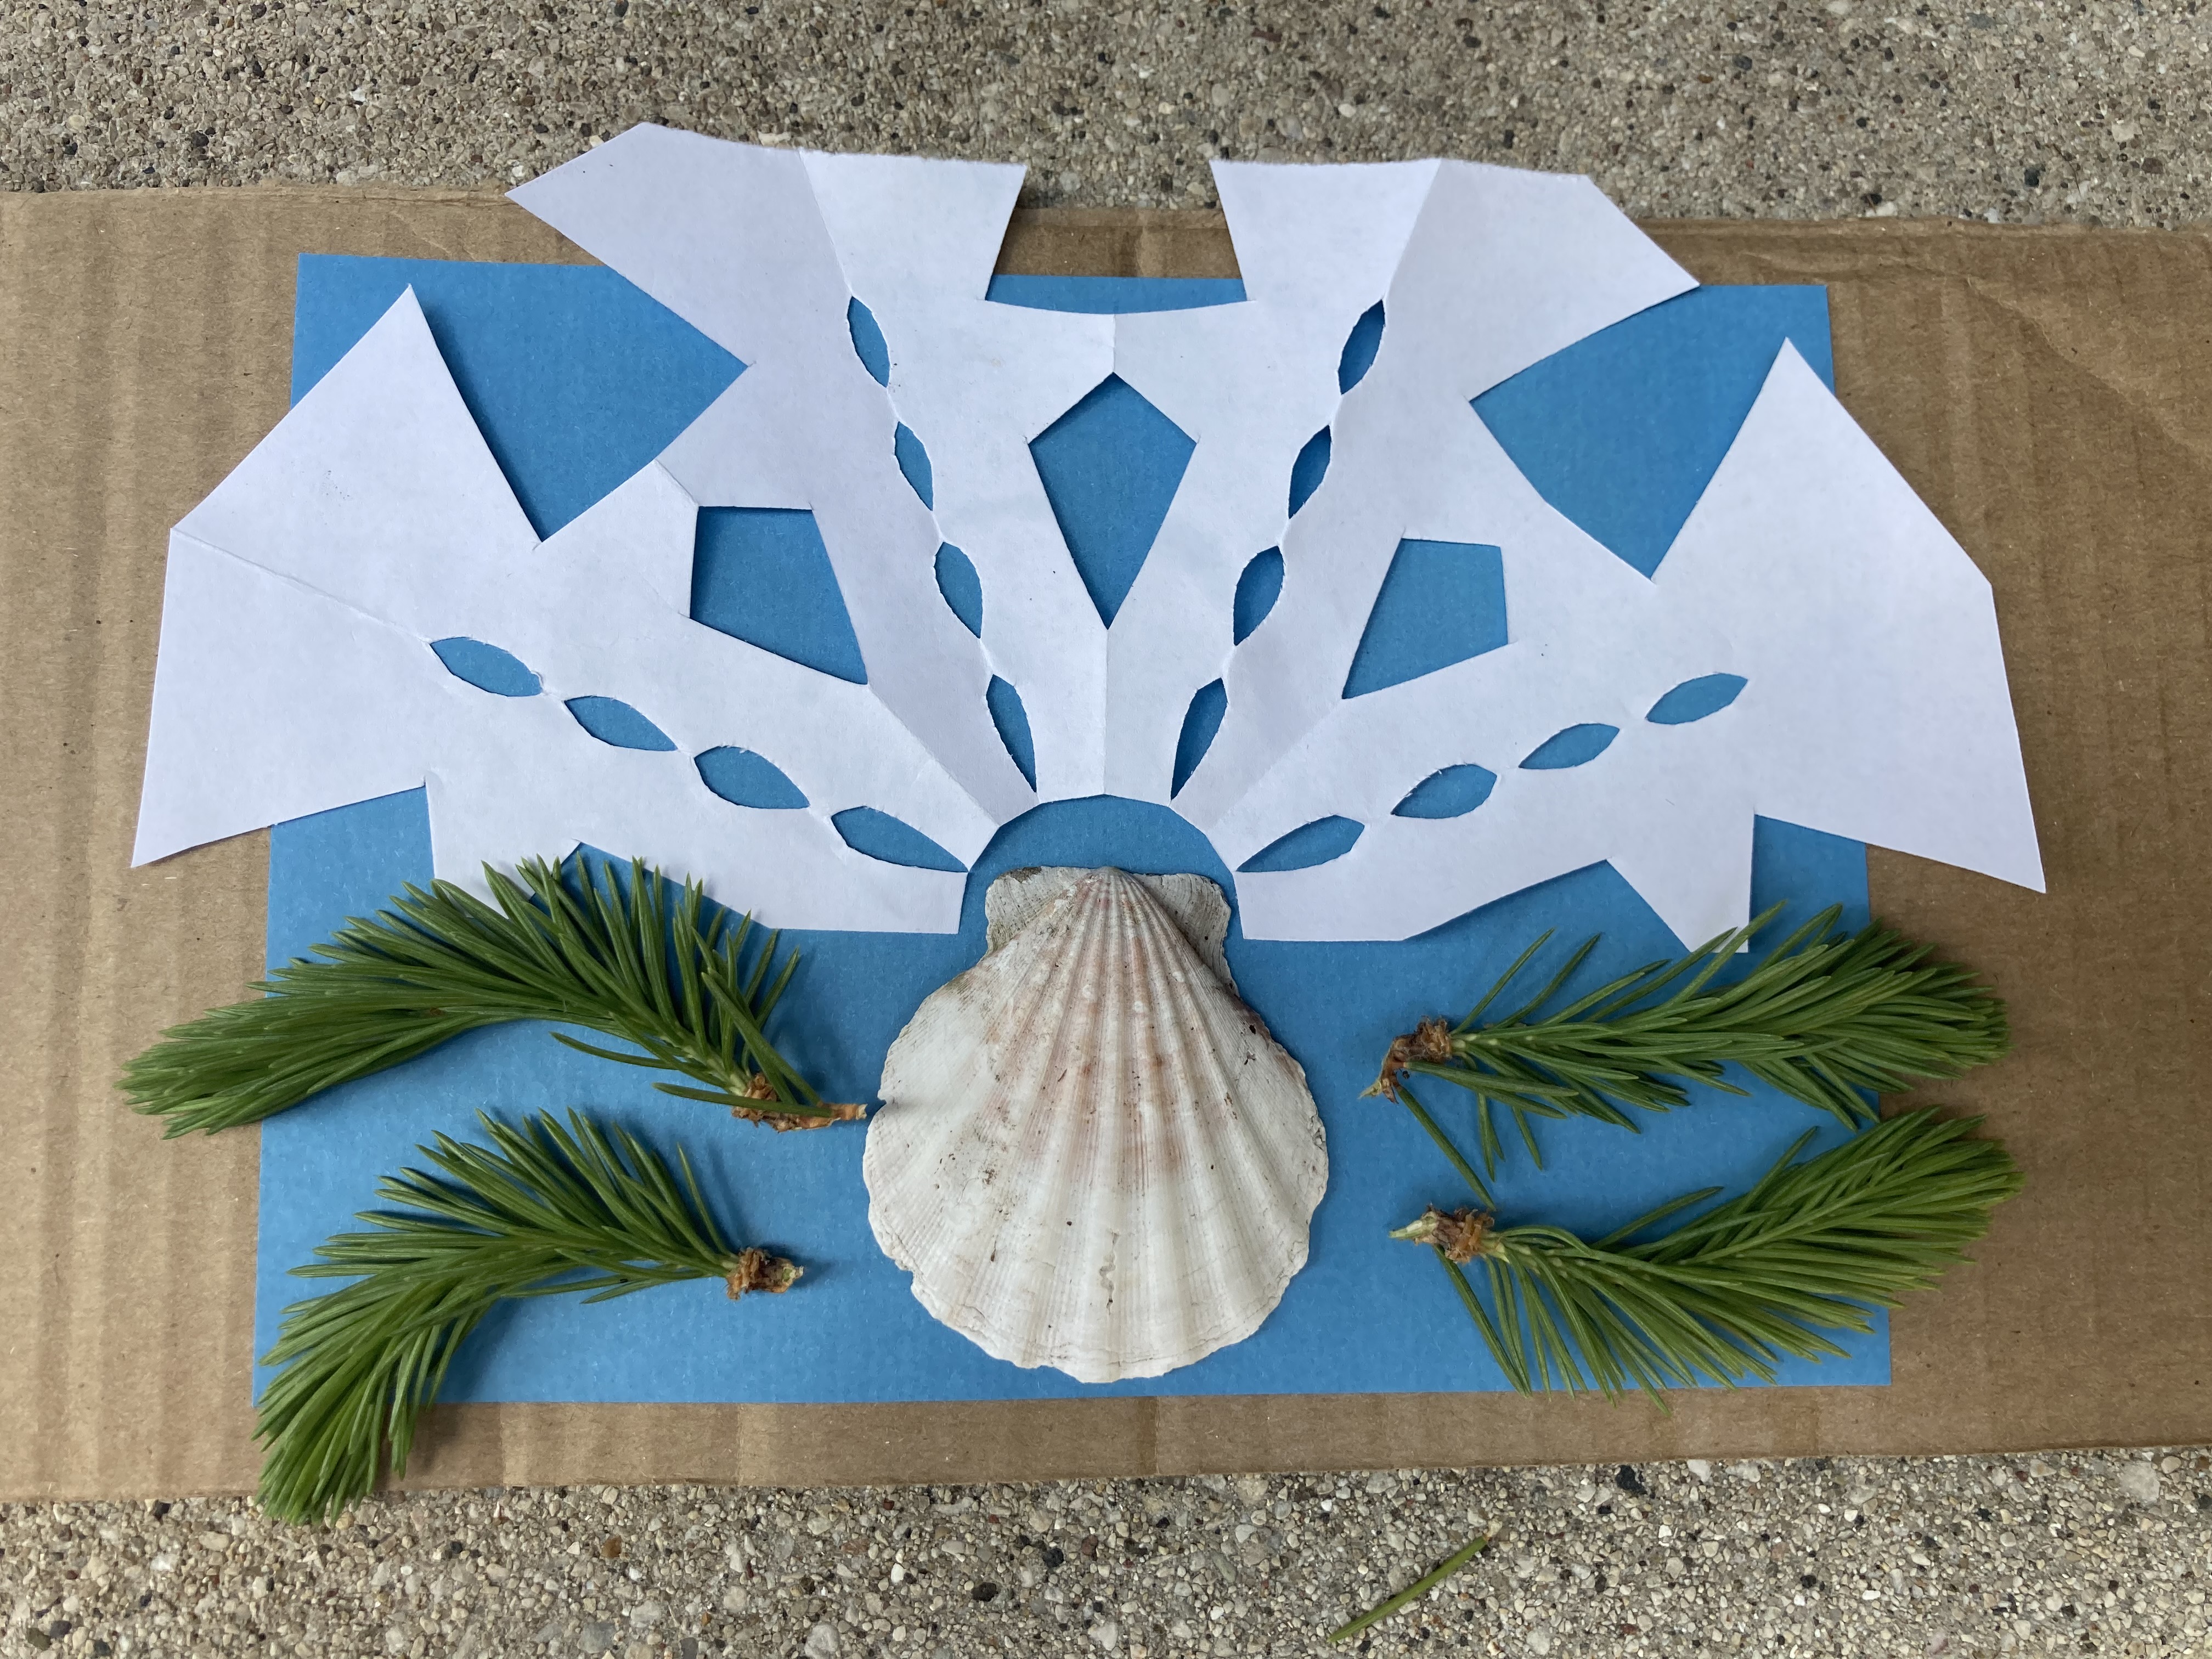
The 3 photos above show the varying of sun exposure under the objects before putting the paper in the water. The objects were all on the paper for the same amount of time. Notice how the area under the paper cut object is lighter than the area that was under the shell. The shell was more flat against the paper and was a thicker object, therefor blocking out more of the sun.
Step 4: HAVE FUN!
Once your print is fully dry, hang it up, give it away, or mail it off to a friend.
If your print did not turn out exactly how you wanted it to, do not throw it out! Try adding some doodles using a pen, colored pencils, or markers, or get a scissors, tape, and other paper materials and make a collage.
This final photo shows the finished print once the paper has completely dried.