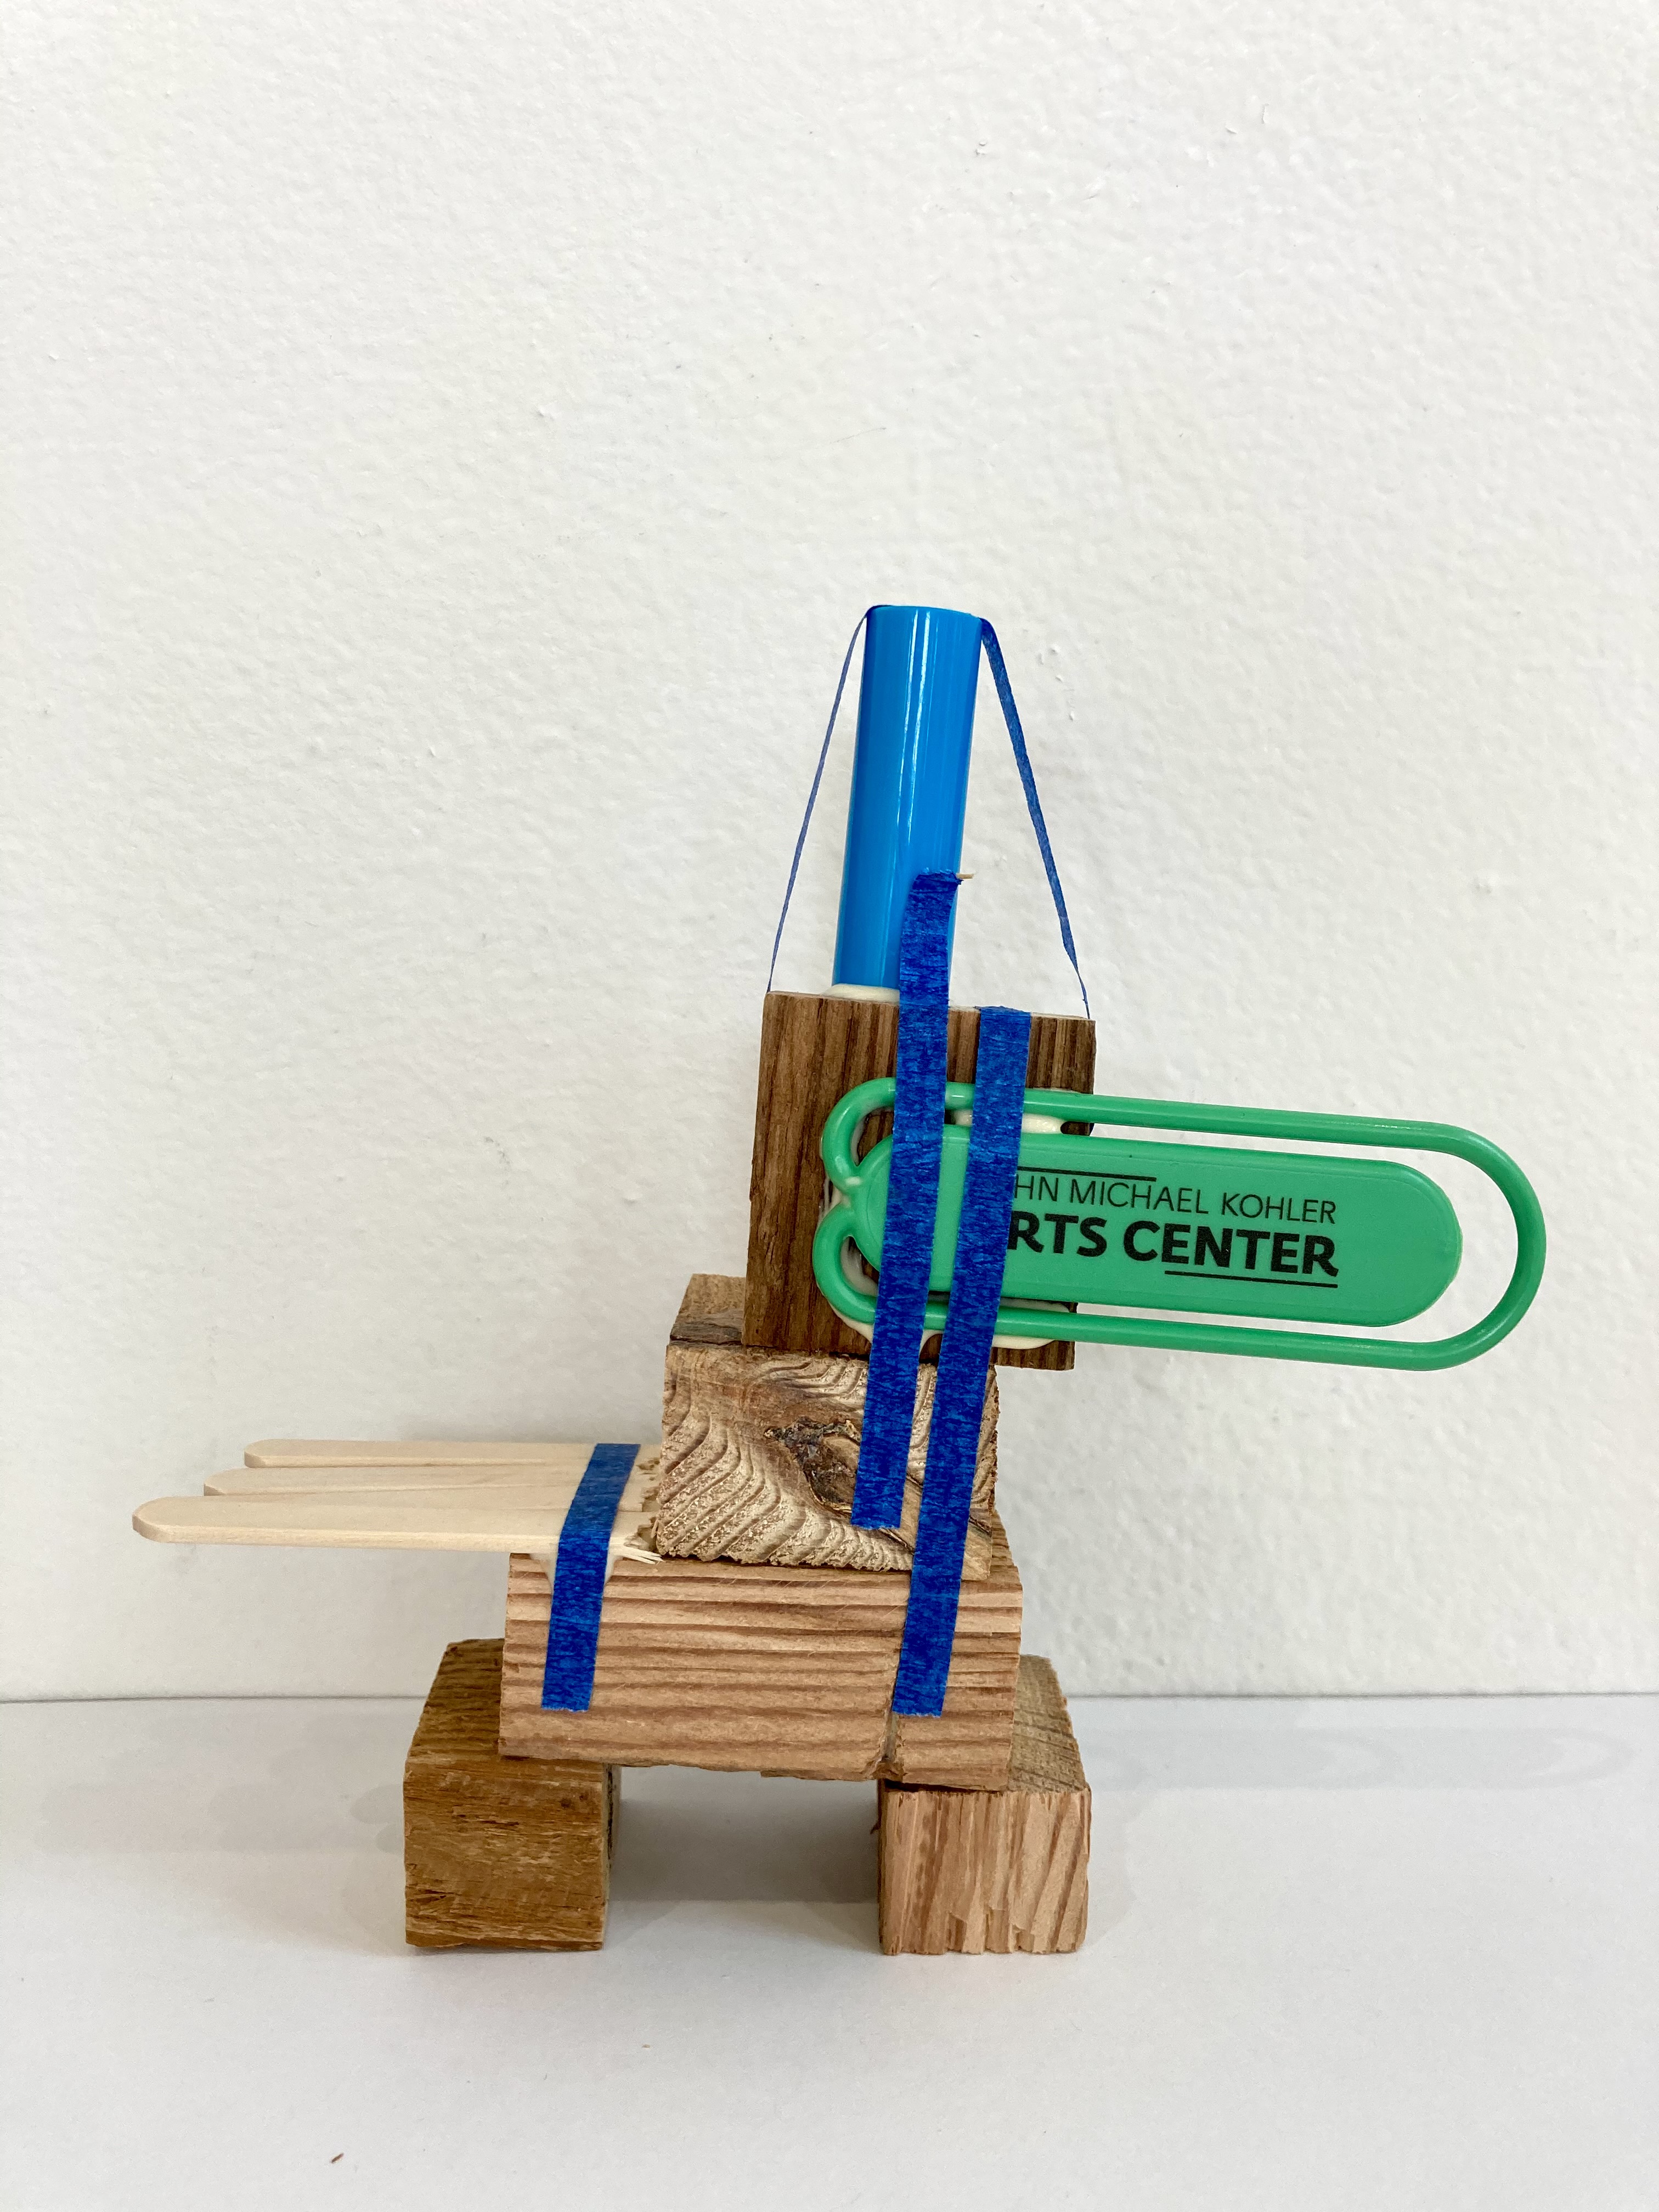
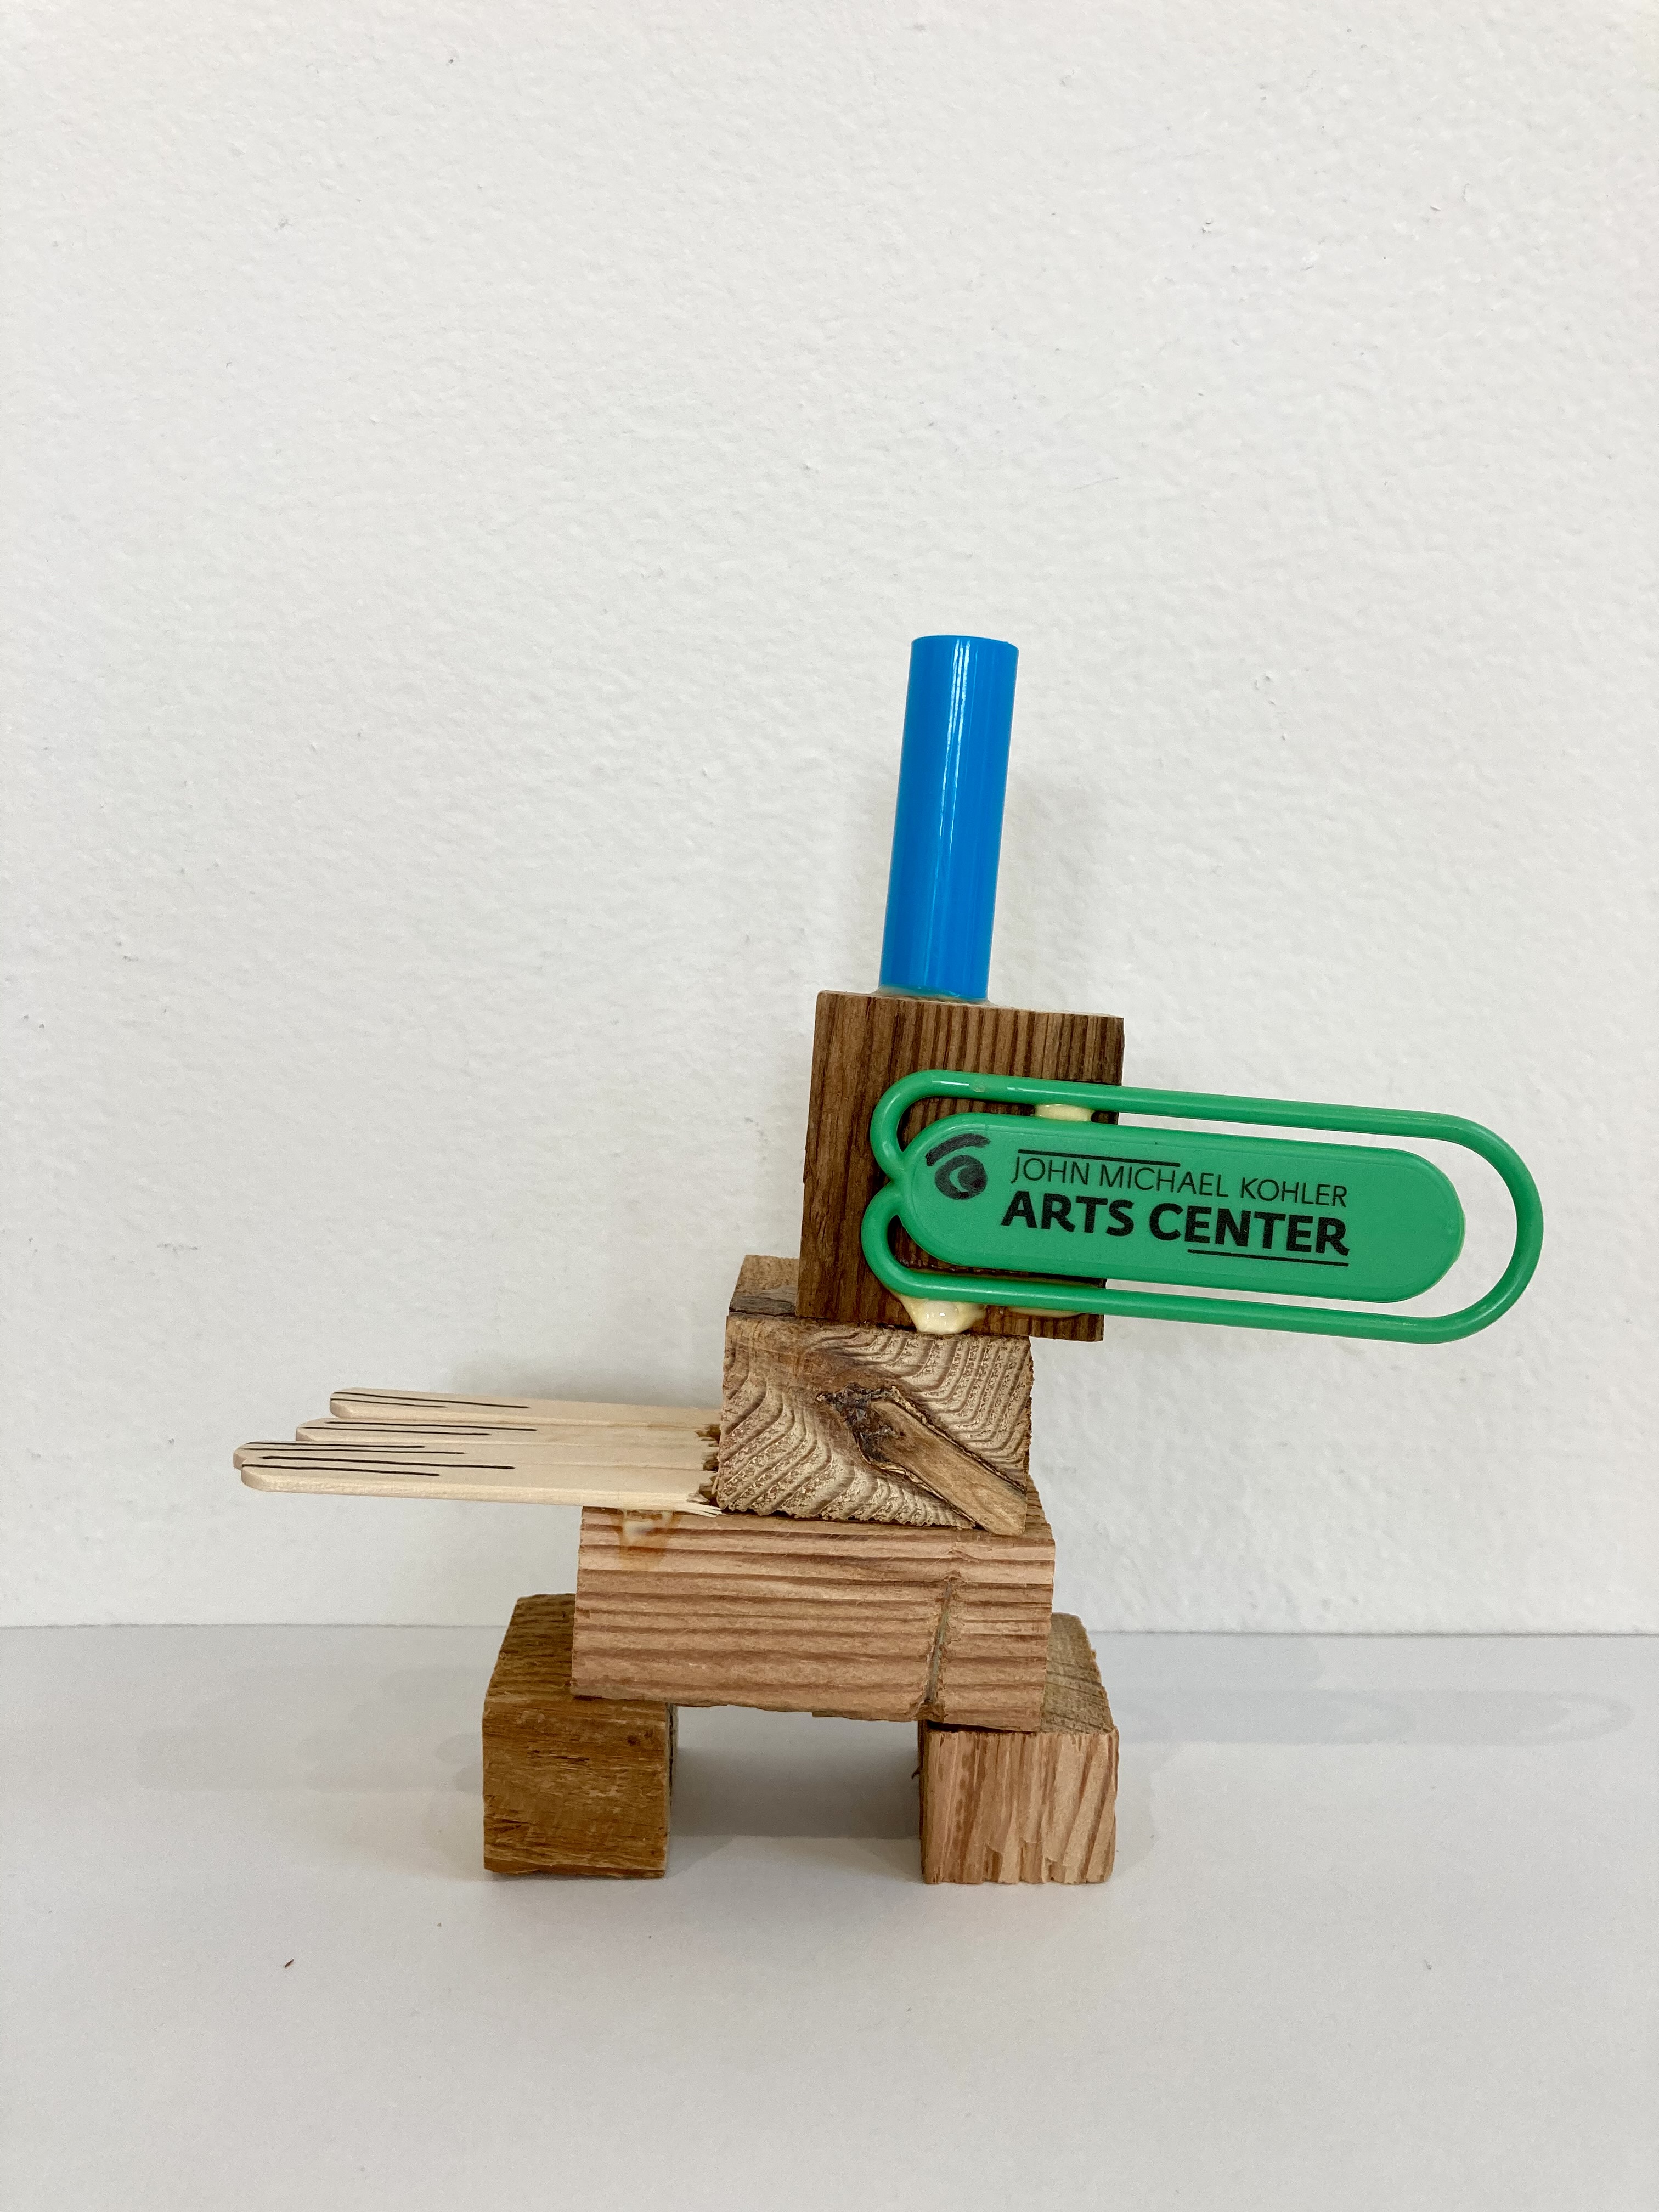
This project is inspired by the exhibition Anthony Olubunmi Akinbola: Magic City.
Take a tour of Magic City with Hendrix, a seven-year-old from Sheboygan.
What is “readymade”?
The term “readymade” was coined by French-American artist Marcel Duchamp. It refers to art, usually sculptures, made from everyday objects. Duchamp believed the simple act of an artist selecting such an object gave it new meaning and transformed it into art. This idea was revolutionary—and scandalous—in the early 1900s because it blurred the line between choosing and making. It also gave the artist the power to determine what was/wasn’t art—power that previously belonged exclusively to museums and art historians.
Artists continue to make readymade art today, usually selecting objects that impart a personal, historical, cultural, or political message to their work. Nigerian-American artist Anthony Olubunmi Akinola utilizes durags, a Cadillac Escalade, plastic hair picks, empty pomade cans, and other objects that have cultural currency in the Black community. By turning these everyday objects into art, Olubunmi Akinbola asks the viewer to think about why an object is considered “African,” “Black,” “White,” or “American.”
Try it!
Step 1
Brainstorm! You can sketch or write to make a plan and then search for objects to put in your sculpture.
You might think about…
– Will your sculpture be representational (look like something real) or abstract?
– Does your sculpture have a meaning?
– Where will you display it or who will you give it to?
You might find objects…
– In your recycling bin, such as cans, boxes, and bottle tops.
– Outside, such as rocks and driftwood.
– In a memory box, such as photographs, small mementos, and small toys, like action figures, key chains, and bouncy balls.
Step 2
Start assembling. Use adhesives like hot glue, super glue, or wood glue to attach your objects together. Ask an adult for help if you are using very strong adhesive like super glue or hot glue. Remember to let your sculpture dry for at least one full day if you are using a liquid glue. You may need to find a way to support your sculpture until it is dry and sturdy enough to stand up on its own.
Step 3
Consider embellishing your work. Would you like to paint your sculpture or add other colors to it using mark making materials such as markers or crayons? What about adding a label or write a story about it?
Step 4
Display your work or gift it to someone.
Check out the example STUDIO Attendant Hannah created.


